Learn how to create a ticket to monetize your content on Maestro.
Two of the top video monetization methods on Maestro are ticketing and subscriptions. You can add ticketing or subscriptions to any page or live channel on your Maestro site by customizing your Gate.
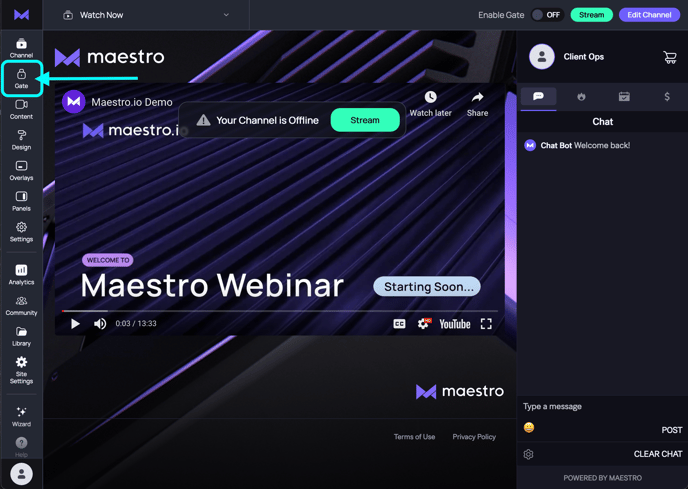
To do so, click "Gate" in the Admin Bar.
.
How to Create a Subscription
- Click "EDIT GATE" in the top right hand corner of the window.

This will open the editor.
- Next, set up access by either clicking the rectangular area marked "Access Control" or by clicking the "Set Up Access" button in the tool tip on the right hand side of the window.

- Next, select the method of access control that you'd like to put into place. Since we're creating tickets and subscriptions, choose that option.

- In the following modal, click "Add Ticket, Bundle, or Subscription"


- The "Tickets Subscriptions and Bundles" modal will appear. At the top right hand corner of this modal, click the button marked as

- The Create Subscription modal will open with a form. In this form please enter the following information:
- Name of the subscription: This is what your viewers will see on the paywall
- Description: Use this field to tell your users what to expect when they purchase this subscription
- SKU: This is not seen by viewers but is used for processing and reporting purposes only
-
- Monthly: Creates a monthly recurring charge (i.e., a monthly subscription)
- Annually: Creates an annually recurring charge (i.e., an annual/yearly subscription)
7. Add the price of the subscription. Optionally add additional prices for other currencies. Users will see the price for their region’s ISO standard currency according their IP address. If there is no price for their currency, users will see the price option you set as default.
8. When you're done, click the Save button in the top right hand corner of the modal.
How to Create a Ticket
- Click "EDIT GATE" in the top right hand corner of the window.

This will open the editor.
- Next, set up access by either clicking the rectangular area marked "Access Control" or by clicking the "Set Up Access" button in the tool tip on the right hand side of the window.

- Next, select the method of access control that you'd like to put into place. Since we're creating tickets and subscriptions, choose that option.

- In the following modal, click "Add Ticket, Bundle, or Subscription"


- The "Tickets Subscriptions and Bundles" modal will appear. At the top right hand corner of this modal, click the button marked as

- The Create Subscription modal will open with a form. In this form please enter the following information:
- Name of the subscription: This is what your viewers will see on the paywall
- Description: Use this field to tell your users what to expect when they purchase this subscription
- SKU: This is not seen by viewers but is used for processing and reporting purposes only
- Event Date: The date of your event. Please note, if your event is multi-day or you intend to sell the same sku for on-demand access, enter the last day of the event / on-demand period.
IMPORTANT NOTE: Ticket sale payouts attached to this ticket are impacted and triggered by this date. Any money exchanged for this sku after the date entered will not be automatically transferred as expected. Please ensure that you select the correct date. If you have any questions at all, please submit a ticket HERE.

Once your tickets and subscriptions are created, they will appear in the Tickets, Bundles, and Subscriptions Modal for use on your site.

For information on Ticket and Merchandise Bundles, please see our dedicated article here.
Have any more questions? Join our Discord server for more helpful tips and tricks.