To use the Shopify Panel, please ensure you’ve installed the Shopify Integration by following the steps detailed in this guide.
To get started, navigate to the live channel where you’d like to add a Shopify Panel. Click the “Edit Channel” button at the top right corner of the Channel.
Click the “Gear” icon in the Panels sidebar to open Panel Settings. Scroll to the bottom, and toggle on the Shopify panel.

With it toggled on, click the “Gear” icon to configure the Panel.
Click the Product View dropdown to choose whether to display a Collection, Single Product, or Multiple Products.
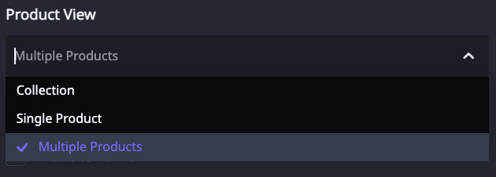
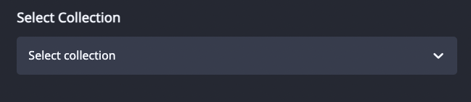
Collection - If you choose "Collection", a dropdown will appear that allows you to choose a collection within your Shopify Store.
Single Product - This will display one product within the panel for Sale. Click the Product Image within the Panel to choose the Product displayed.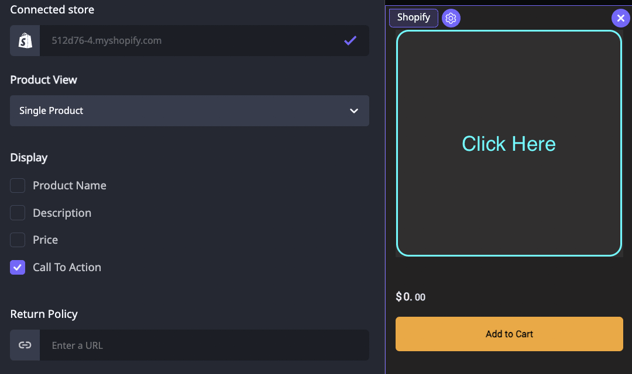
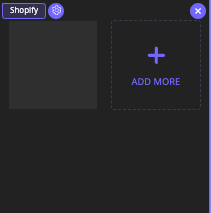
Multiple Products - Display Multiple Products that you choose from your Shopify Store. Click the “+ Add More” button in the actual panel to select the products you wish to add.
In the Shopify Panel Settings, you can choose to display the following:
- Product Name
- Product Description
- Price
- Call to Action
You will also be able to add links to your Return Policy and Terms of Use.
In the Shopify Panel Settings modal, you are also able to set the Product Image Aspect Ratio, and optionally set a Background Color.
When you are finished configuring your panel, click the ![]() button in the top right corner of the page to push the changes live.
button in the top right corner of the page to push the changes live.