Your Maestro Instance includes a number of out-of-the box tools to help you create a sleek video site, a Page, in a matter of minutes.
To get started, ensure you're editing a Page, not a Live Channel. You can do so by checking the Site Navigation at the top of your Maestro Site.
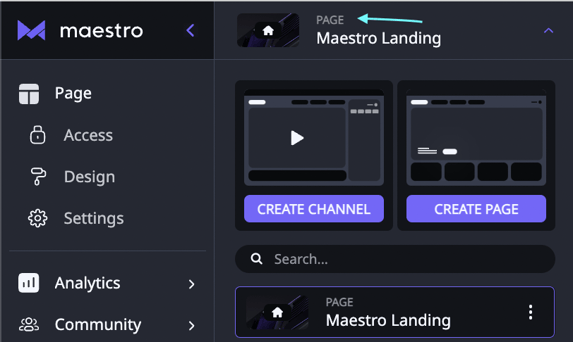
Note: If you don't have any Pages, you can also create one from the Navigation drop down by clicking the "CREATE PAGE" button.
Once you've got your Page, it's time to start building.
At the top right of the window, click the "EDIT PAGE" button.
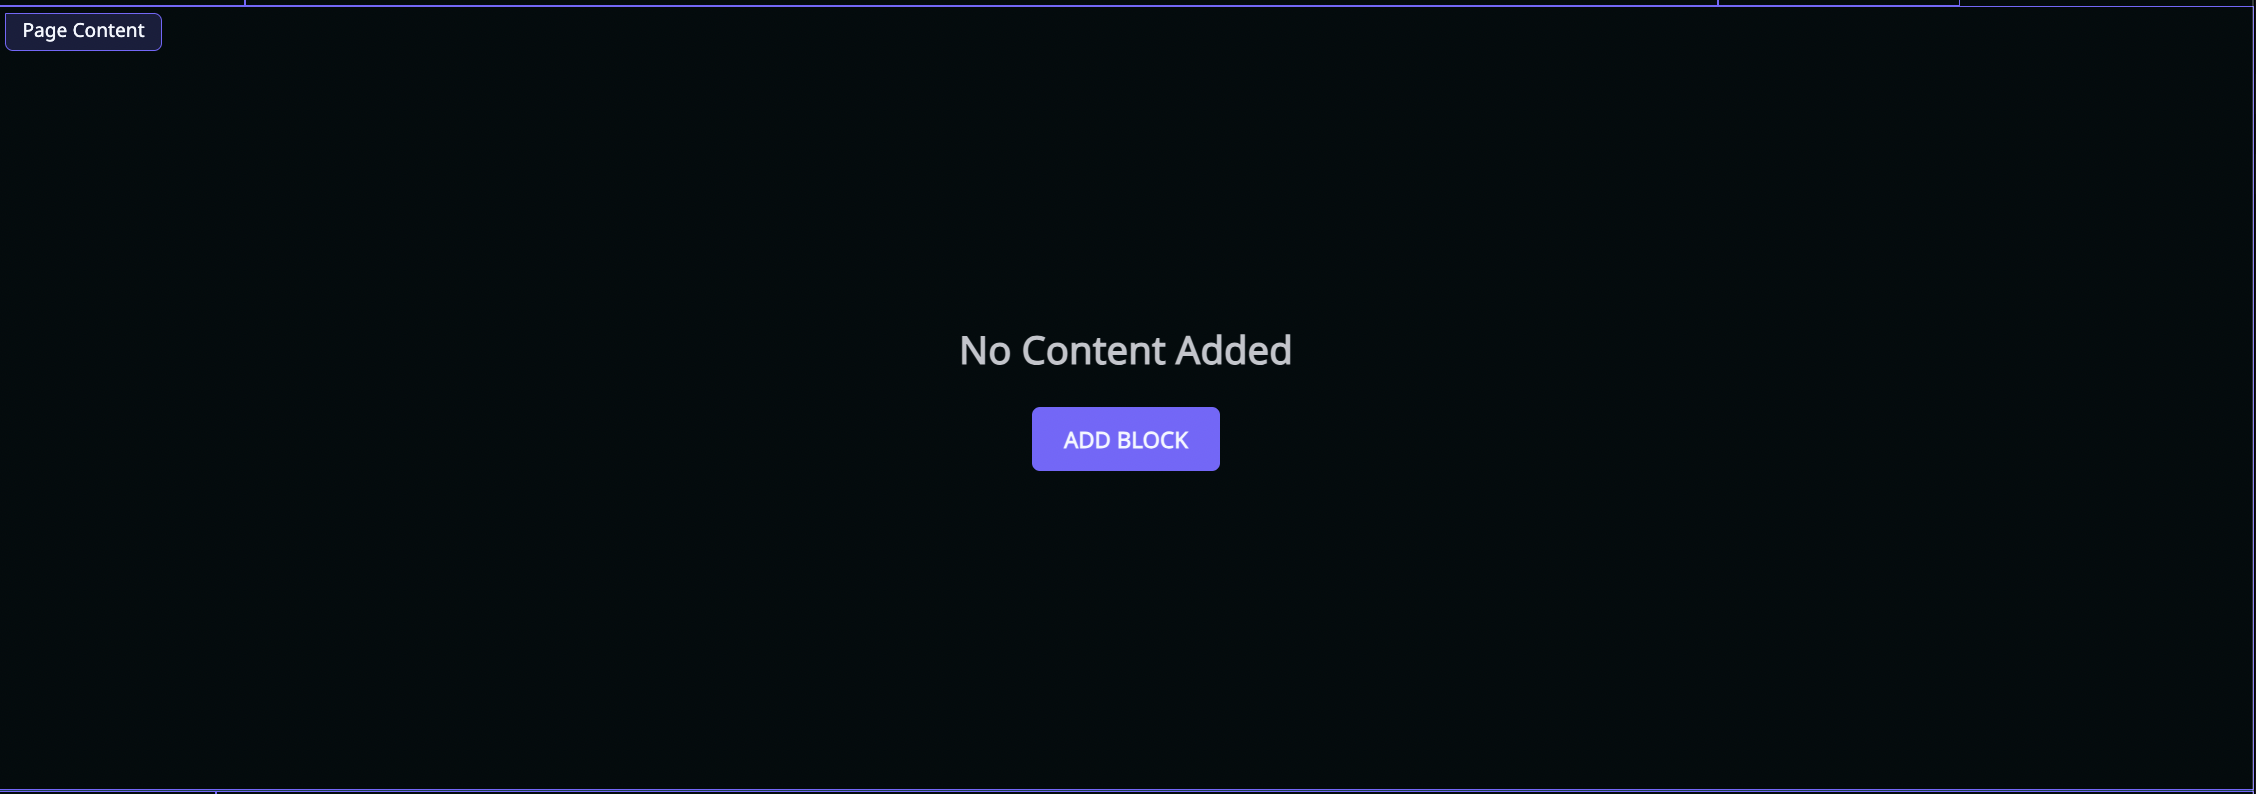
The Page will enter the Edit State. Click "ADD BLOCK"
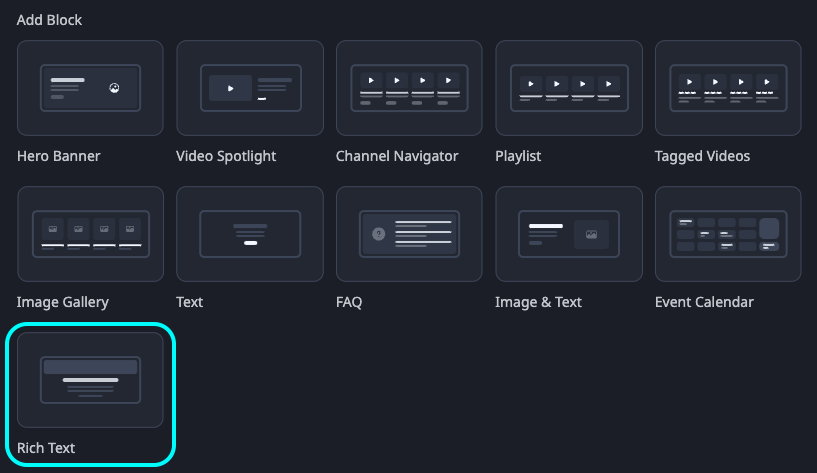
There are 12 content block options to choose from:
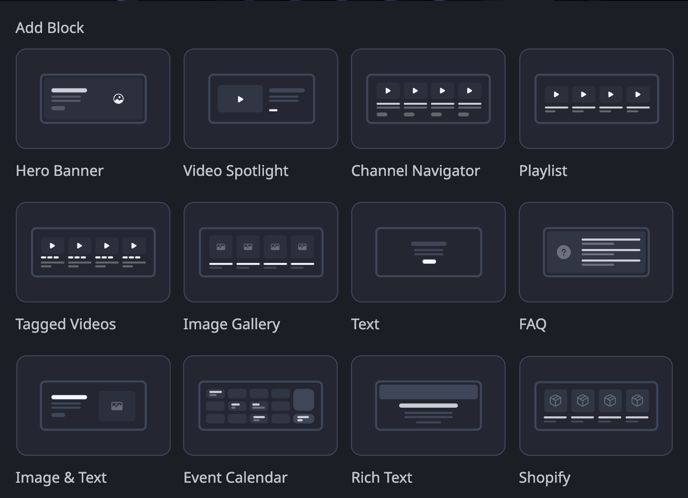
1. Hero Banner - Adds a large, versatile graphic to your Page. The Hero Banner can also add optional Call to Action buttons which link to other Live Channels or Pages on your site, or to outside URLs. To configure the Hero Banner, click the "Gear" icon ![]() with the editor open. The Hero Banner can feature the following configurations:
with the editor open. The Hero Banner can feature the following configurations:
- - Custom Images
- Background Colors
- Optional Gradient
- Optional Image Bleed
2. Video Spotlight - Feature a video from your library with a title and text blurb.
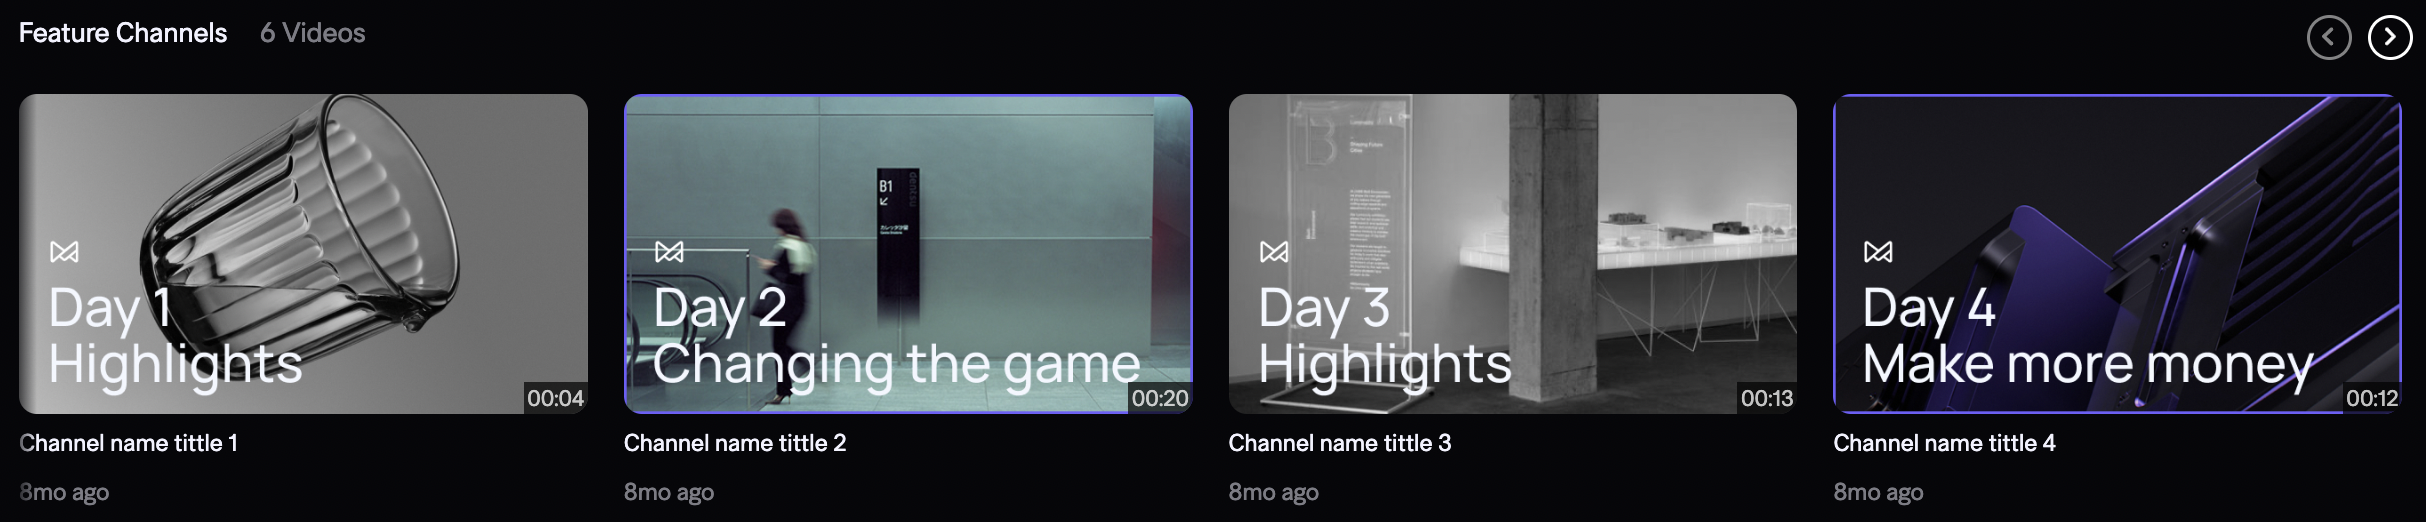
3. Channel Navigator - Configure a row of Navigation buttons that lead to your Channels. Channels will display a LIVE marker when Live.
- Click Add Channels
- Add a Row Title (will appear above the row of channels, left aligned)
- Click Add Channel
- Select the Channels you’d like to add using the plus icon (you can add more than one channel to the row)
- Click PUBLISH in the top right corner.
4. Playlist - Add a previously created playlist of videos to your landing page.
- Click Add Playlist to open the playlist library modal. Click the "Use" button to add a playlist to your landing page. Add as many as you'd like.
5. Tagged Videos - Insert a content row of videos with like tags.
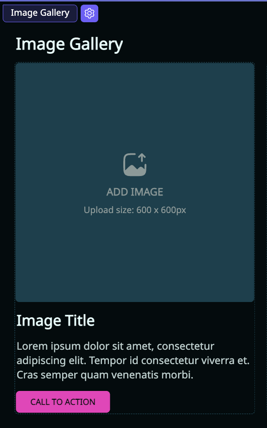
6. Image Gallery - Insert a selection of 600 x 600px photos. Add your own title, subtitle, and CTA.
7. Text Banner - Add a large text banner.
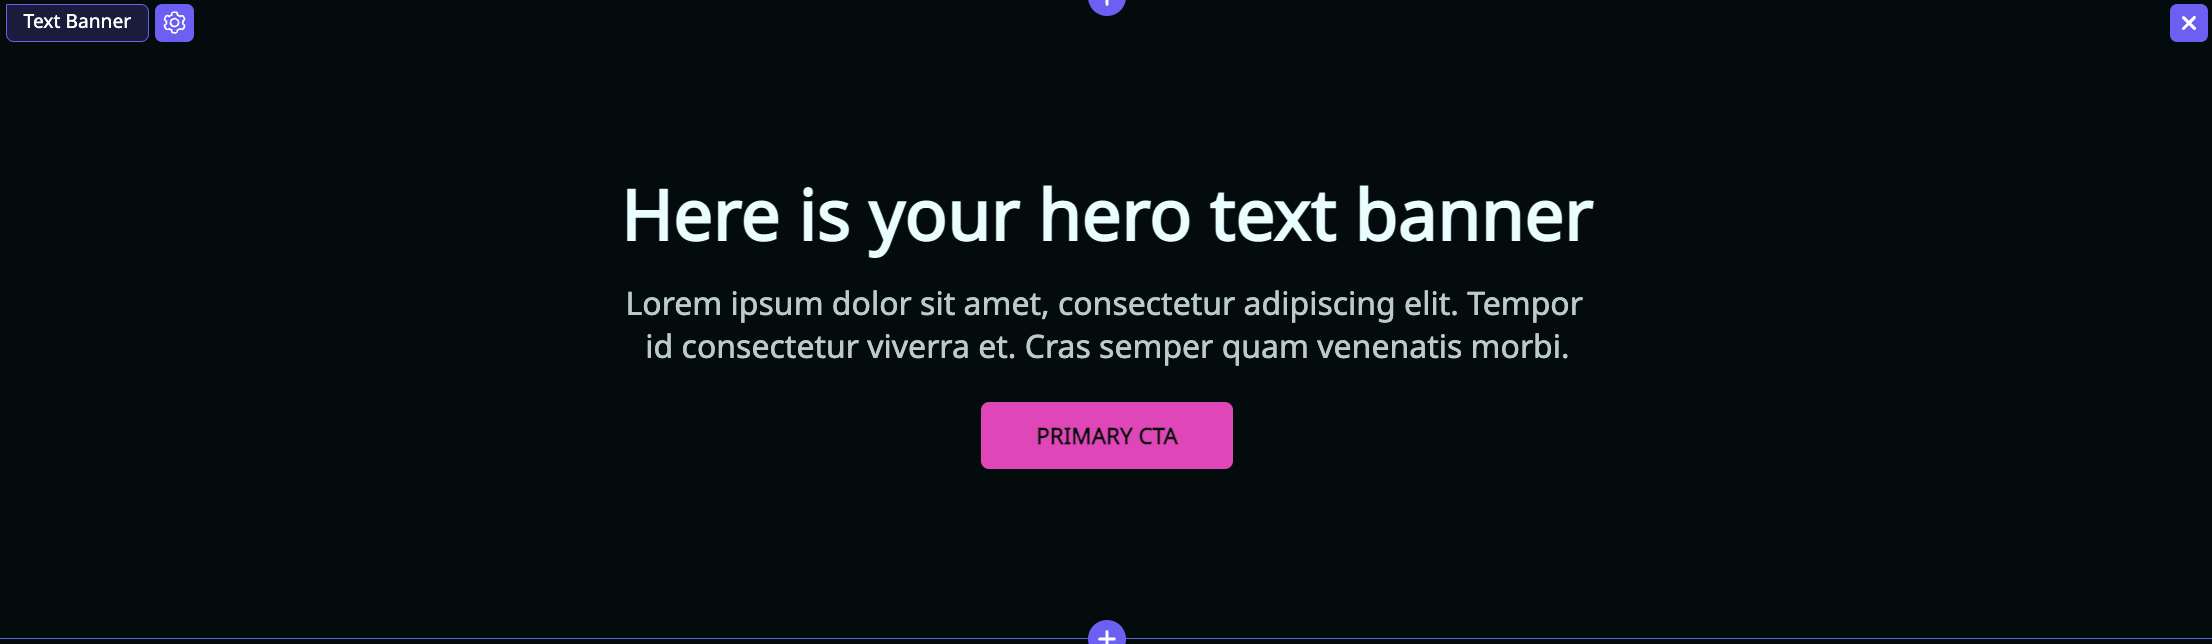
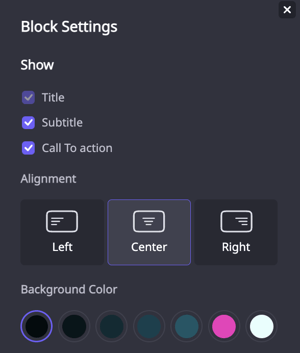
You can configure your text banner using the gear icon on the left topmost corner. You have the option to show or hide segments of the block, change the alignment, and choose a background color. The colors available will correspond to your site design settings.
8. FAQ - Add in a block featuring Frequently Asked Questions.
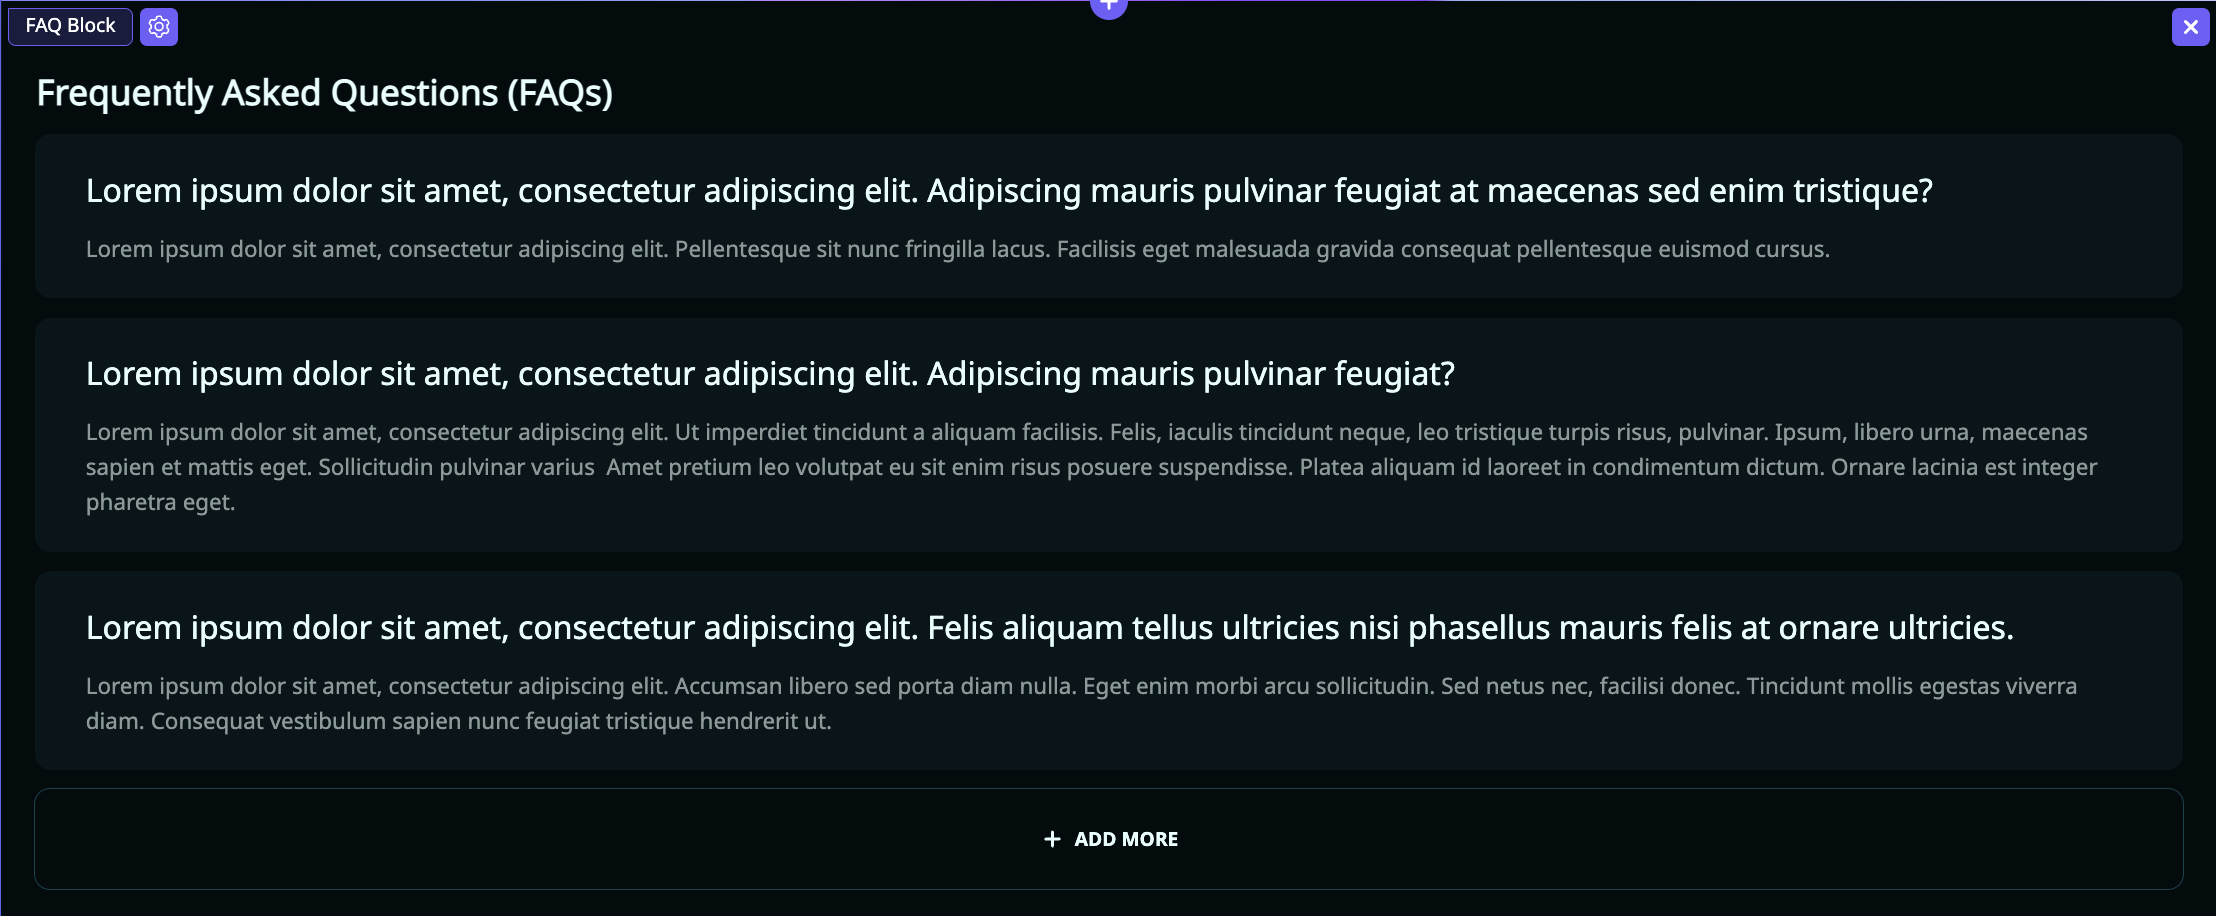
You can update the three segments with your own questions, and add more as needed.
Click the gear icon in the top left corner for more configuration options such as alignment and design options.
9. Image and Text Block - The Image and Text Block support both text and an image in various configurations.
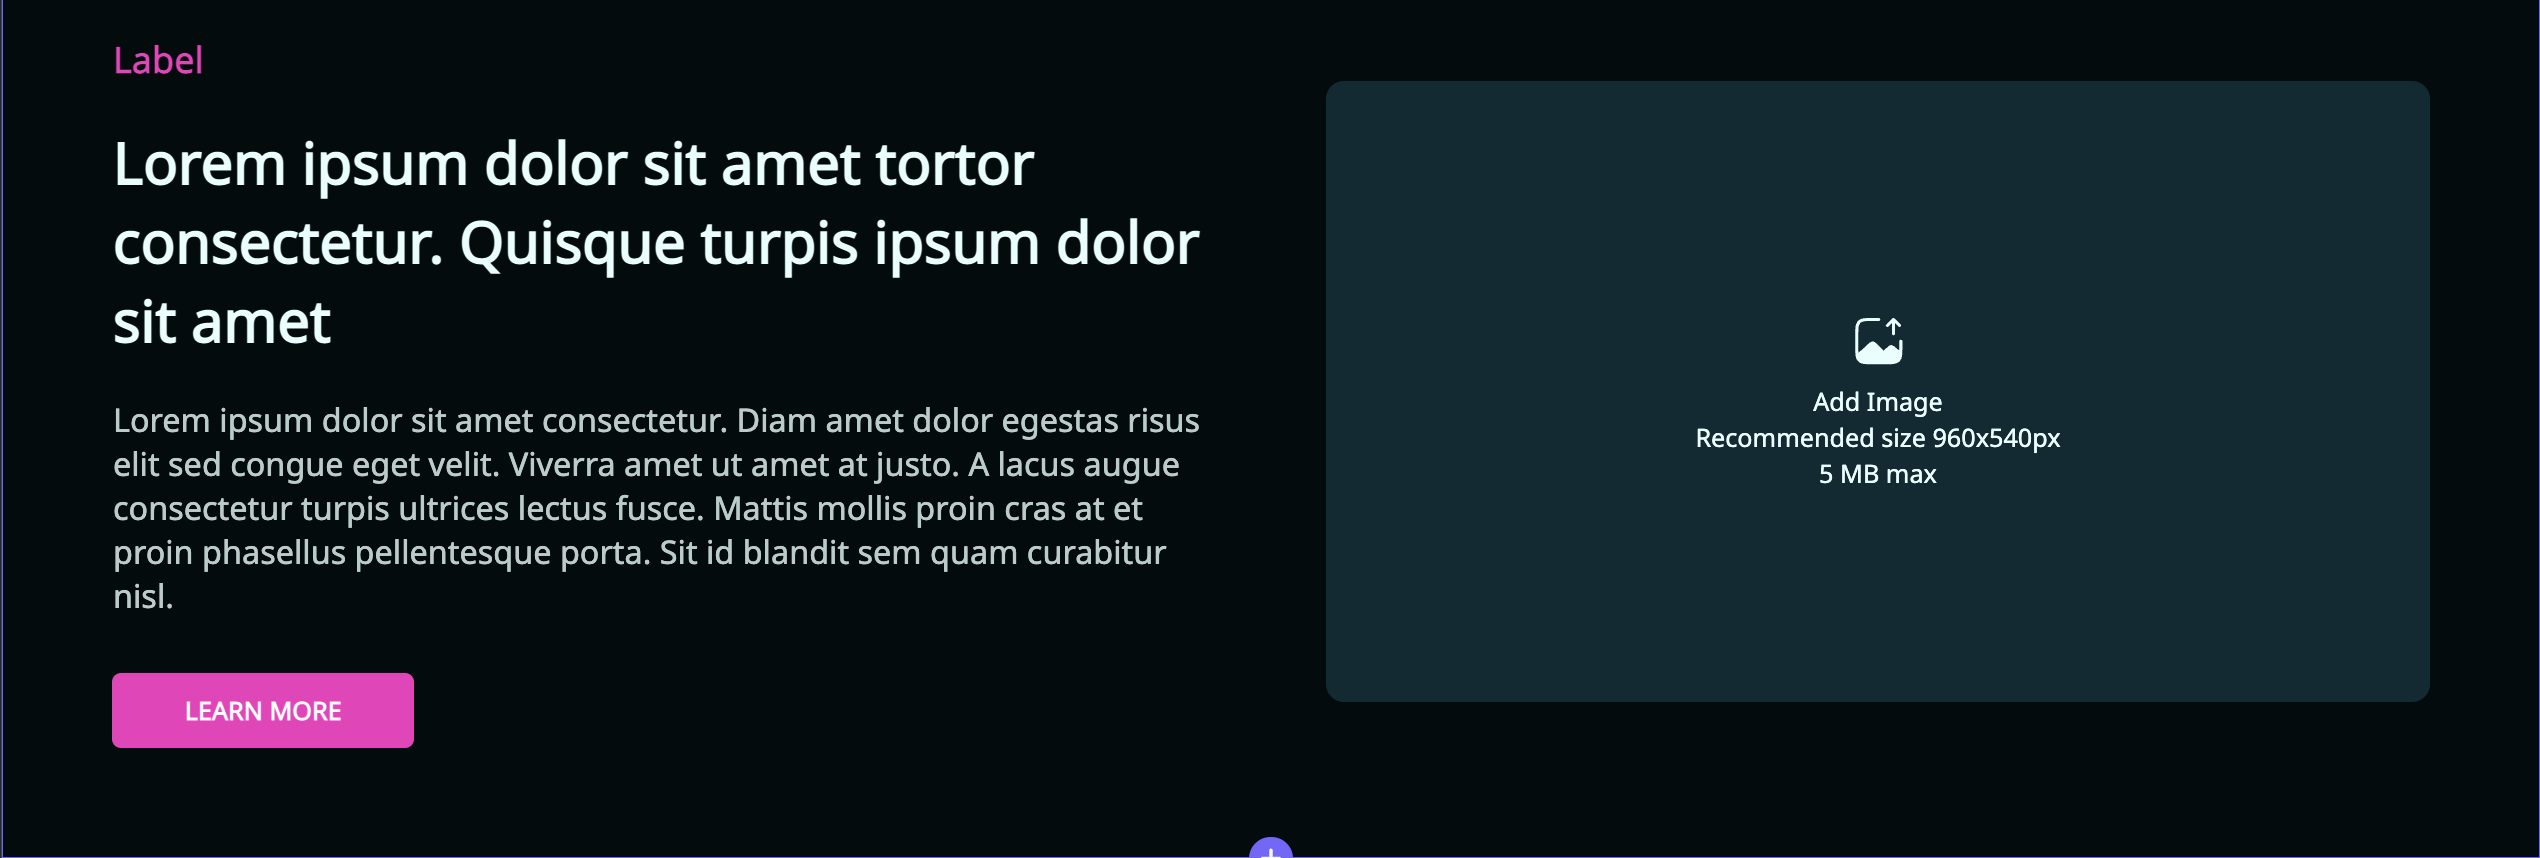
This block includes the following:
- Label - This is an optional text field that will use the Primary Accent Color from your site theme.
- Title - This is a required text field.
- Description - This is an optional text field.
- Call to Action - An optional, linkable button.
The Image and Text Block has several additional settings for more flexibility. Click the Gear Icon in the top left-hand corner to open Image & Text Settings.
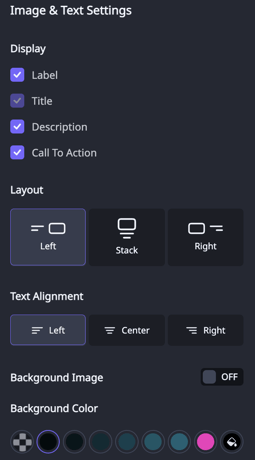
Here, you can toggle optional fields on and off, change the block's layout and text alignment, and add a background image or color to the block
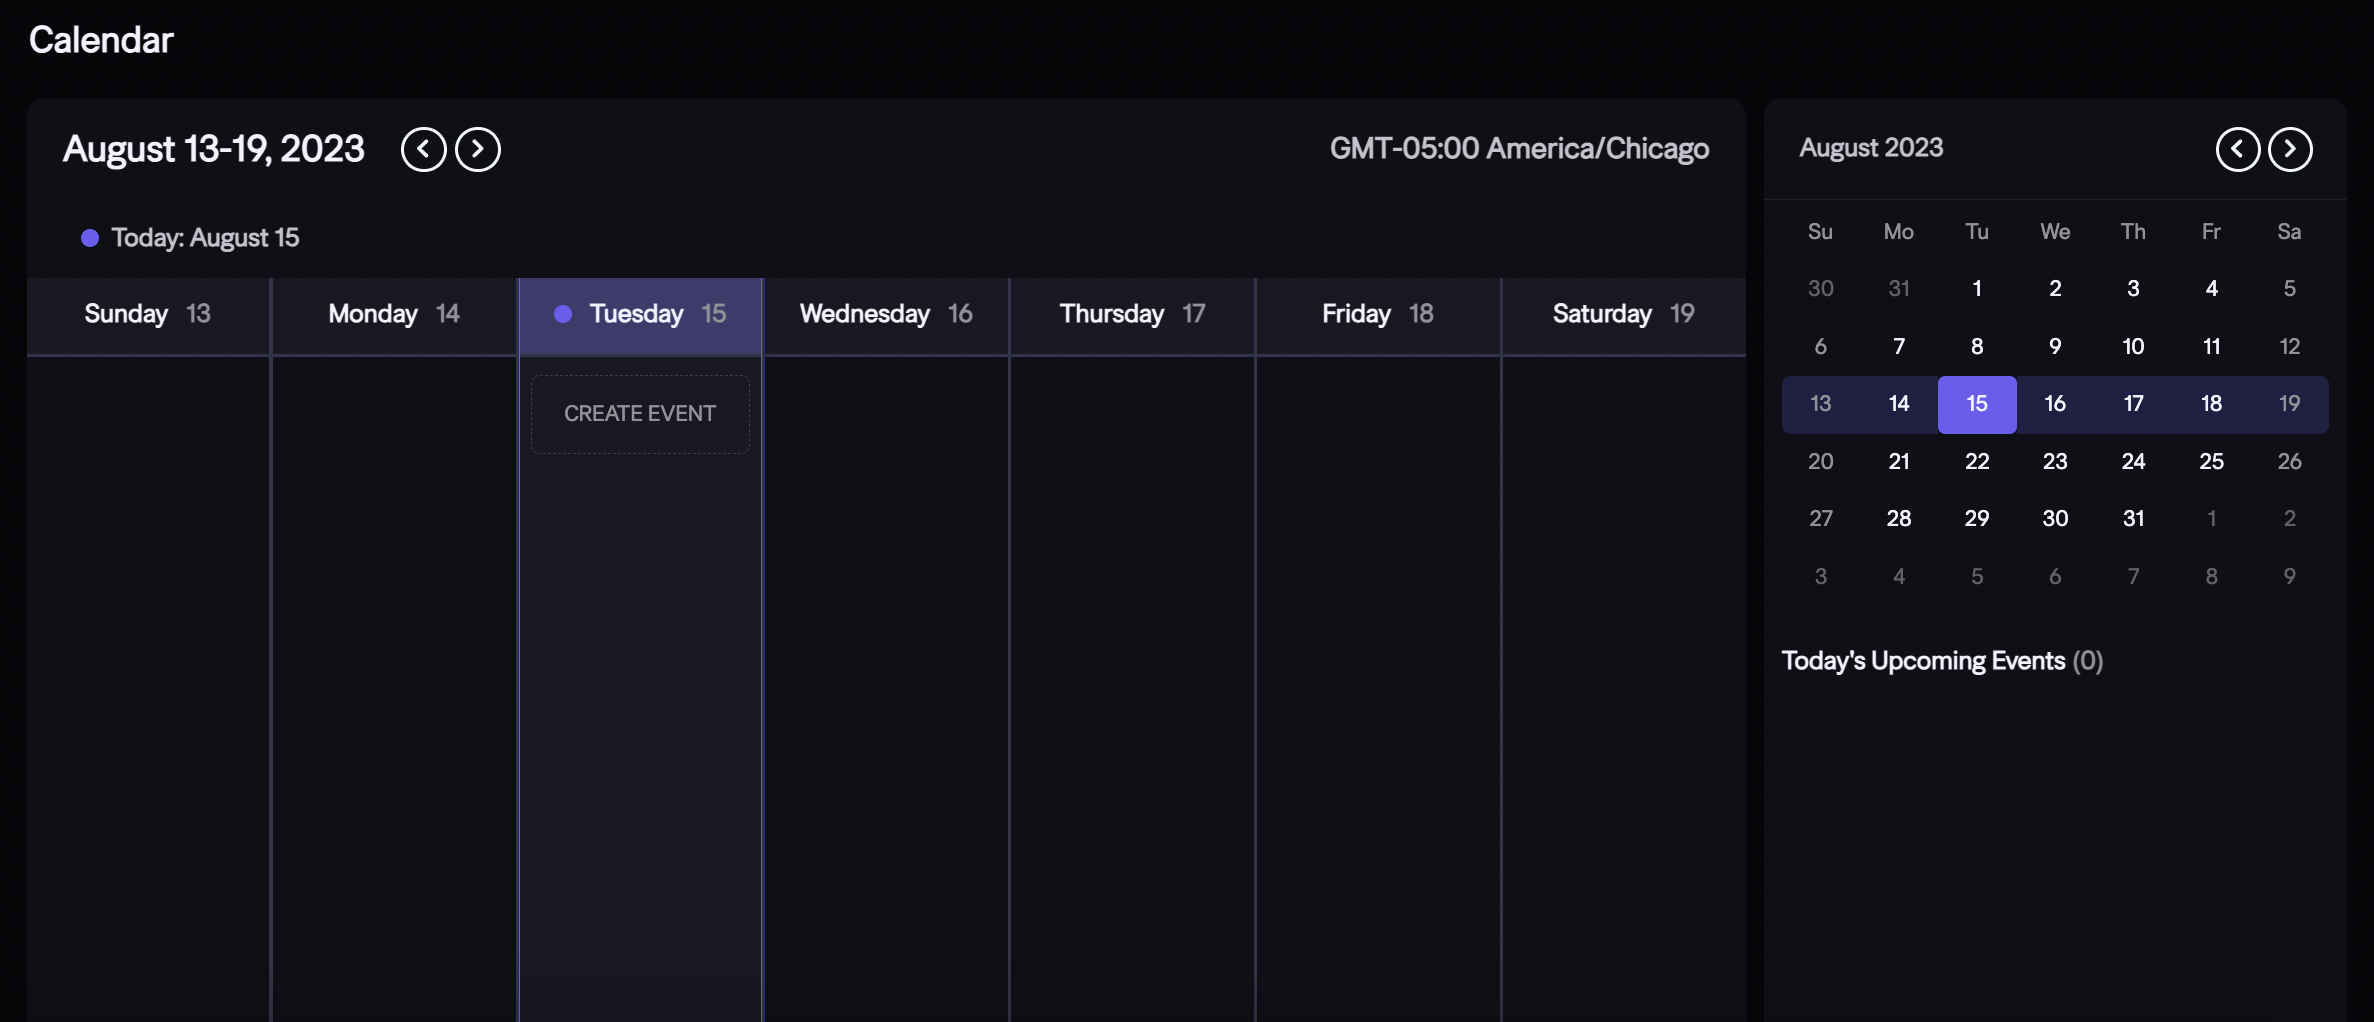
10. Event Calendar - Add your livestream schedule to your page. Add categories and tags so your users can easily filter and find events that they're interested in. For more information on using our Event Calendar block, please see our dedicated guide here.
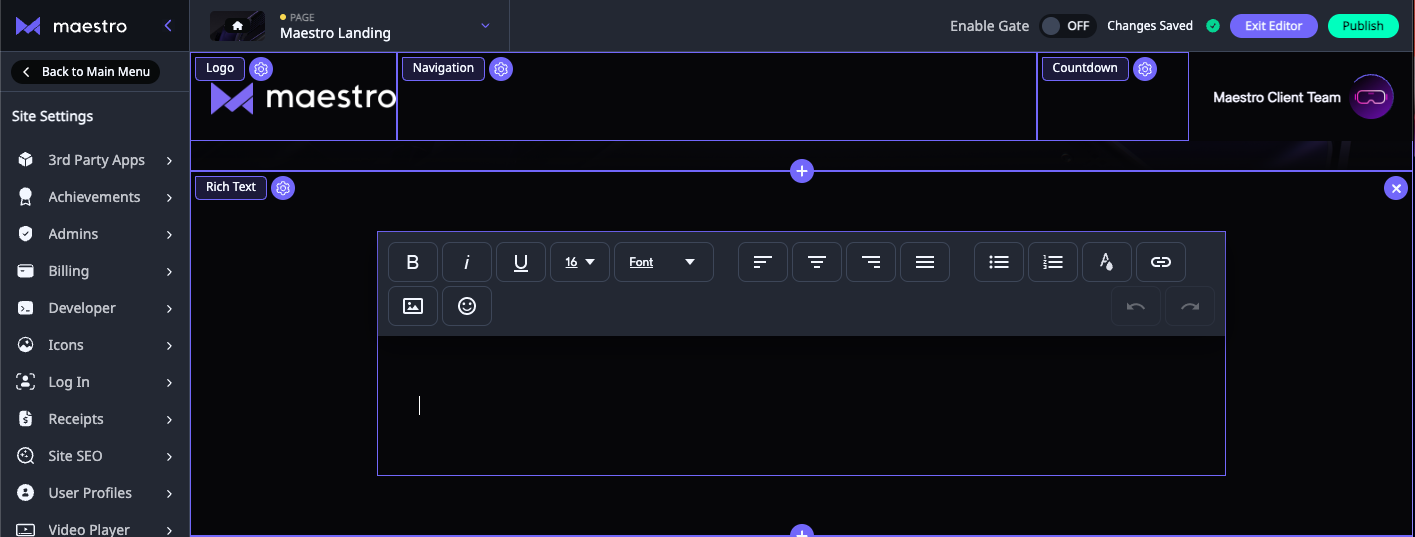
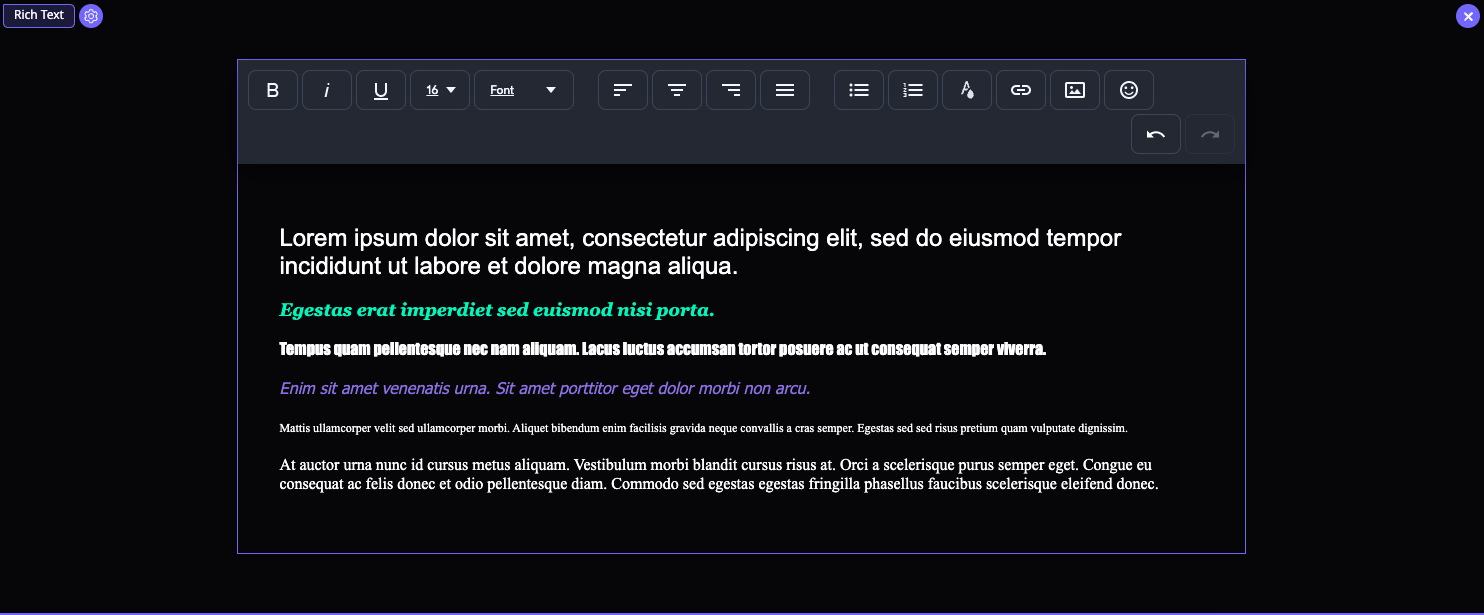
11. Rich Text - The Rich Text block is a simple but highly customizable block. It allows you to create a section of rich text with no character limits. The Rich Text block can be used for news updates, a blog, or any large amount of text you'd like to add to your site.
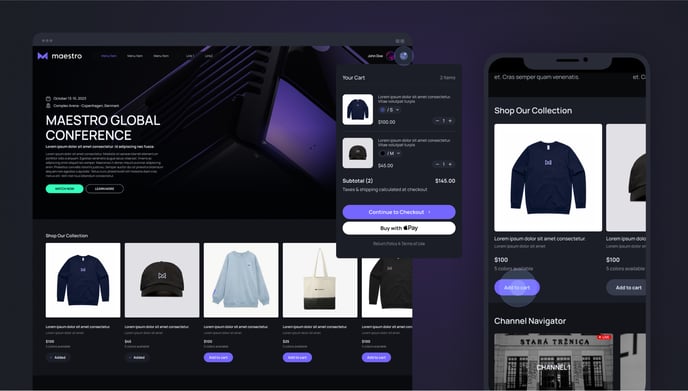
12. Shopify - This block allows you to sell products from your e-commerce store anywhere on your website.
Once you are finished building your landing page, don't forget to click "PUBLISH" on the far right corner of the page to push the changes live.

- In Editor, after you’ve clicked
 you can:
- Make changes to a row by clicking the edit icon
 in the top left corner of the row.
 - Remove a row, click the "X" in the top right corner of the row
- Rearrange rows, simply drag and drop.
- Make changes to a row by clicking the edit icon
- Click "Save" and "Publish" after each change
The editor with a Page works the same as Channels. You can edit the navigation, sidebar, logo, etc. To understand the difference between Channels and Pages, click here.