There are three main ways to utilize VOD content on Maestro: scheduling content to appear as live, adding content to a channel, and adding content to a landing page.
Below is the walkthrough for using VOD content on Maestro on a Live Channel in video mode.
How to Add VOD Content in TV Mode
Adding VOD content in Video mode sets up a single video for viewing on a live channel.
When the user lands on that channel, the video you have set will start from the beginning with Player Controls visible. TV mode is great for trailers, announcements, or allowing viewers to watch a past live stream.
Here's how you can set up VOD content in TV mode:
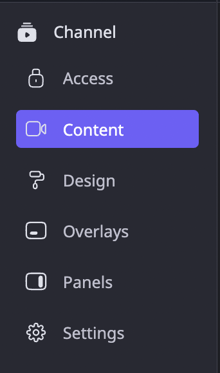
- Click "Content" from the admin bar on the desired channel:
- Scroll down to the "Offline Video" section
- Click "Video"
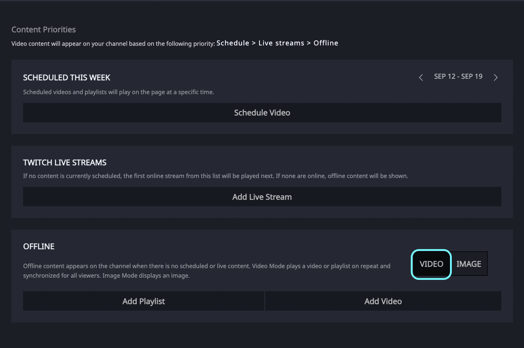
- Click "Add Playlist" or "Add Video" (Note: If a video is already selected, click "Change Video"; if a playlist is selected, click "Change Playlist")
- Select your video or playlist from the list, or add new content by dragging and dropping the video from your device, or embedding a link from Youtube, Twitch, Vimeo, or an m3u8 URL.
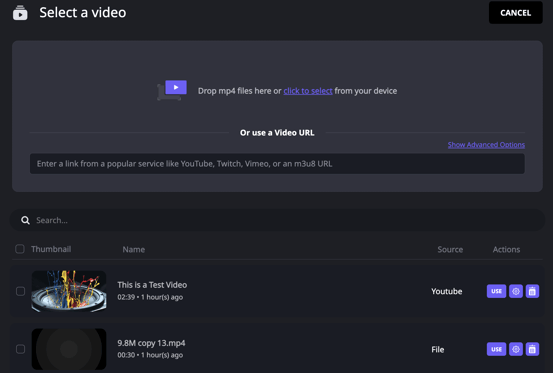
Note: If you are uploading new content, a modal will appear that will allow you to add video metadata and tags. Click "Save" once you're finished, and the modal will close. Your video must be in MP4 format and the file size cannot exceed 10GB.
6. The video will appear in the list. To use it, click the "USE" button. To edit the metadata, click the gear button. To remove it from your Video Library, click the trash can button.
7. Once the video is selected, click "Publish" to push changes live
Have any more questions? Join our Discord server for more helpful tips and tricks.