Learn the basics of setting up live channels in Maestro.
Live channels enable you to host your live streams at and create segmented experiences all within one seamless video destination. They are the spot on your site where your audience can access your live content.
On Maestro, live channels can be personalized to match your brand. Plus, you can add panels or broadcast overlays over your stream to boost engagement.
Contents
- How to Create a New Live Channel
- How to Set a Live Channel as your Home Page
- Hosting Content on a Live Channel
How to Create a New Live Channel
Creating your first channel is easy. In fact, you can create a live channel in just a couple of minutes.
- Click the navigation bar at the top of the page

- Click
 at the top of the drop drown, then select "Channel"
Your new live channel will be created and added to your Site Structure. Once the channel is created, the channel will open on your site with the editor engaged and channel settings modal opened for further customization. - In the channel settings modal, change the name of your live channel (Note: The URL to this channel will automatically populate based on your name, but you can also customize it further if necessary)
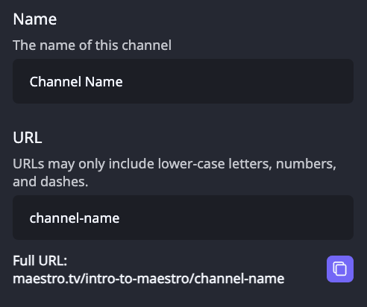
- Optional: Choose a Folder or Parent Page of your newly created channel. This is how your channel will be displayed in Site Navigation.
- Optional: Change the live channel thumbnail to customize the visual representation of your live channel on your Maestro site
- Dimensions for this thumbnail are 640x360px. This thumbnail will be displayed on channel navigation segment below the video player, the channel navigation panel on live channels, or a channel list block on pages.
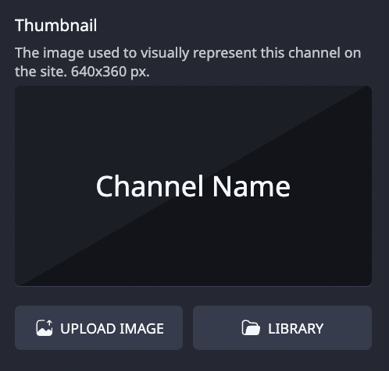
- Dimensions for this thumbnail are 640x360px. This thumbnail will be displayed on channel navigation segment below the video player, the channel navigation panel on live channels, or a channel list block on pages.
- Set the visibility of this channel. Public channels are publicly accessible. Private channels can only be seen by admins, and will cause non-admins to see an "Oops" page.

- Set the Advertising preferences for this channel. Select between inheriting the configuration from global Site Settings, disabling ads, or providing an override to Site Settings with a specific URL.

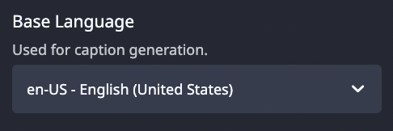
- Optional: Change the base language of this live channel for caption generation
- Optional: Add SEO information to your Maestro site (a short description, keywords, using the thumbnail as the SEO image)

- If needed, you can also delete channels from the channel settings modal by clicking the "DELETE CHANNEL" button at the bottom of the modal
- Once you've completed making updates to the channel settings, be sure to push the changes live by clicking the yellow "PUBLISH" button at the top right of the page

How to Set a Live Channel as the Home Page
Setting a Live Channel as a Home Page ensures that any user accessing your site from the URL (either a custom URL or https://maestro.tv/yoursiteslug) will see the set home page first.
To set a specific live channel as your home page, follow these steps:
- Click the navigation bar at the top of the page.
- Use the three dots on the channel or page that you wish to set as the home page, and click "Set as Homepage"

- Home pages are indicated by this icon:

Hosting Content on a Live Channel
Live channels can host both offline and live content. It can host offline content as a looping video, playlist, or a static graphic. Live channels can also be set to play a recorded video live in order to simulate a live stream.
- Video Mode: When a user lands on the channel, the offline video or playlist will start from the beginning and display controls.
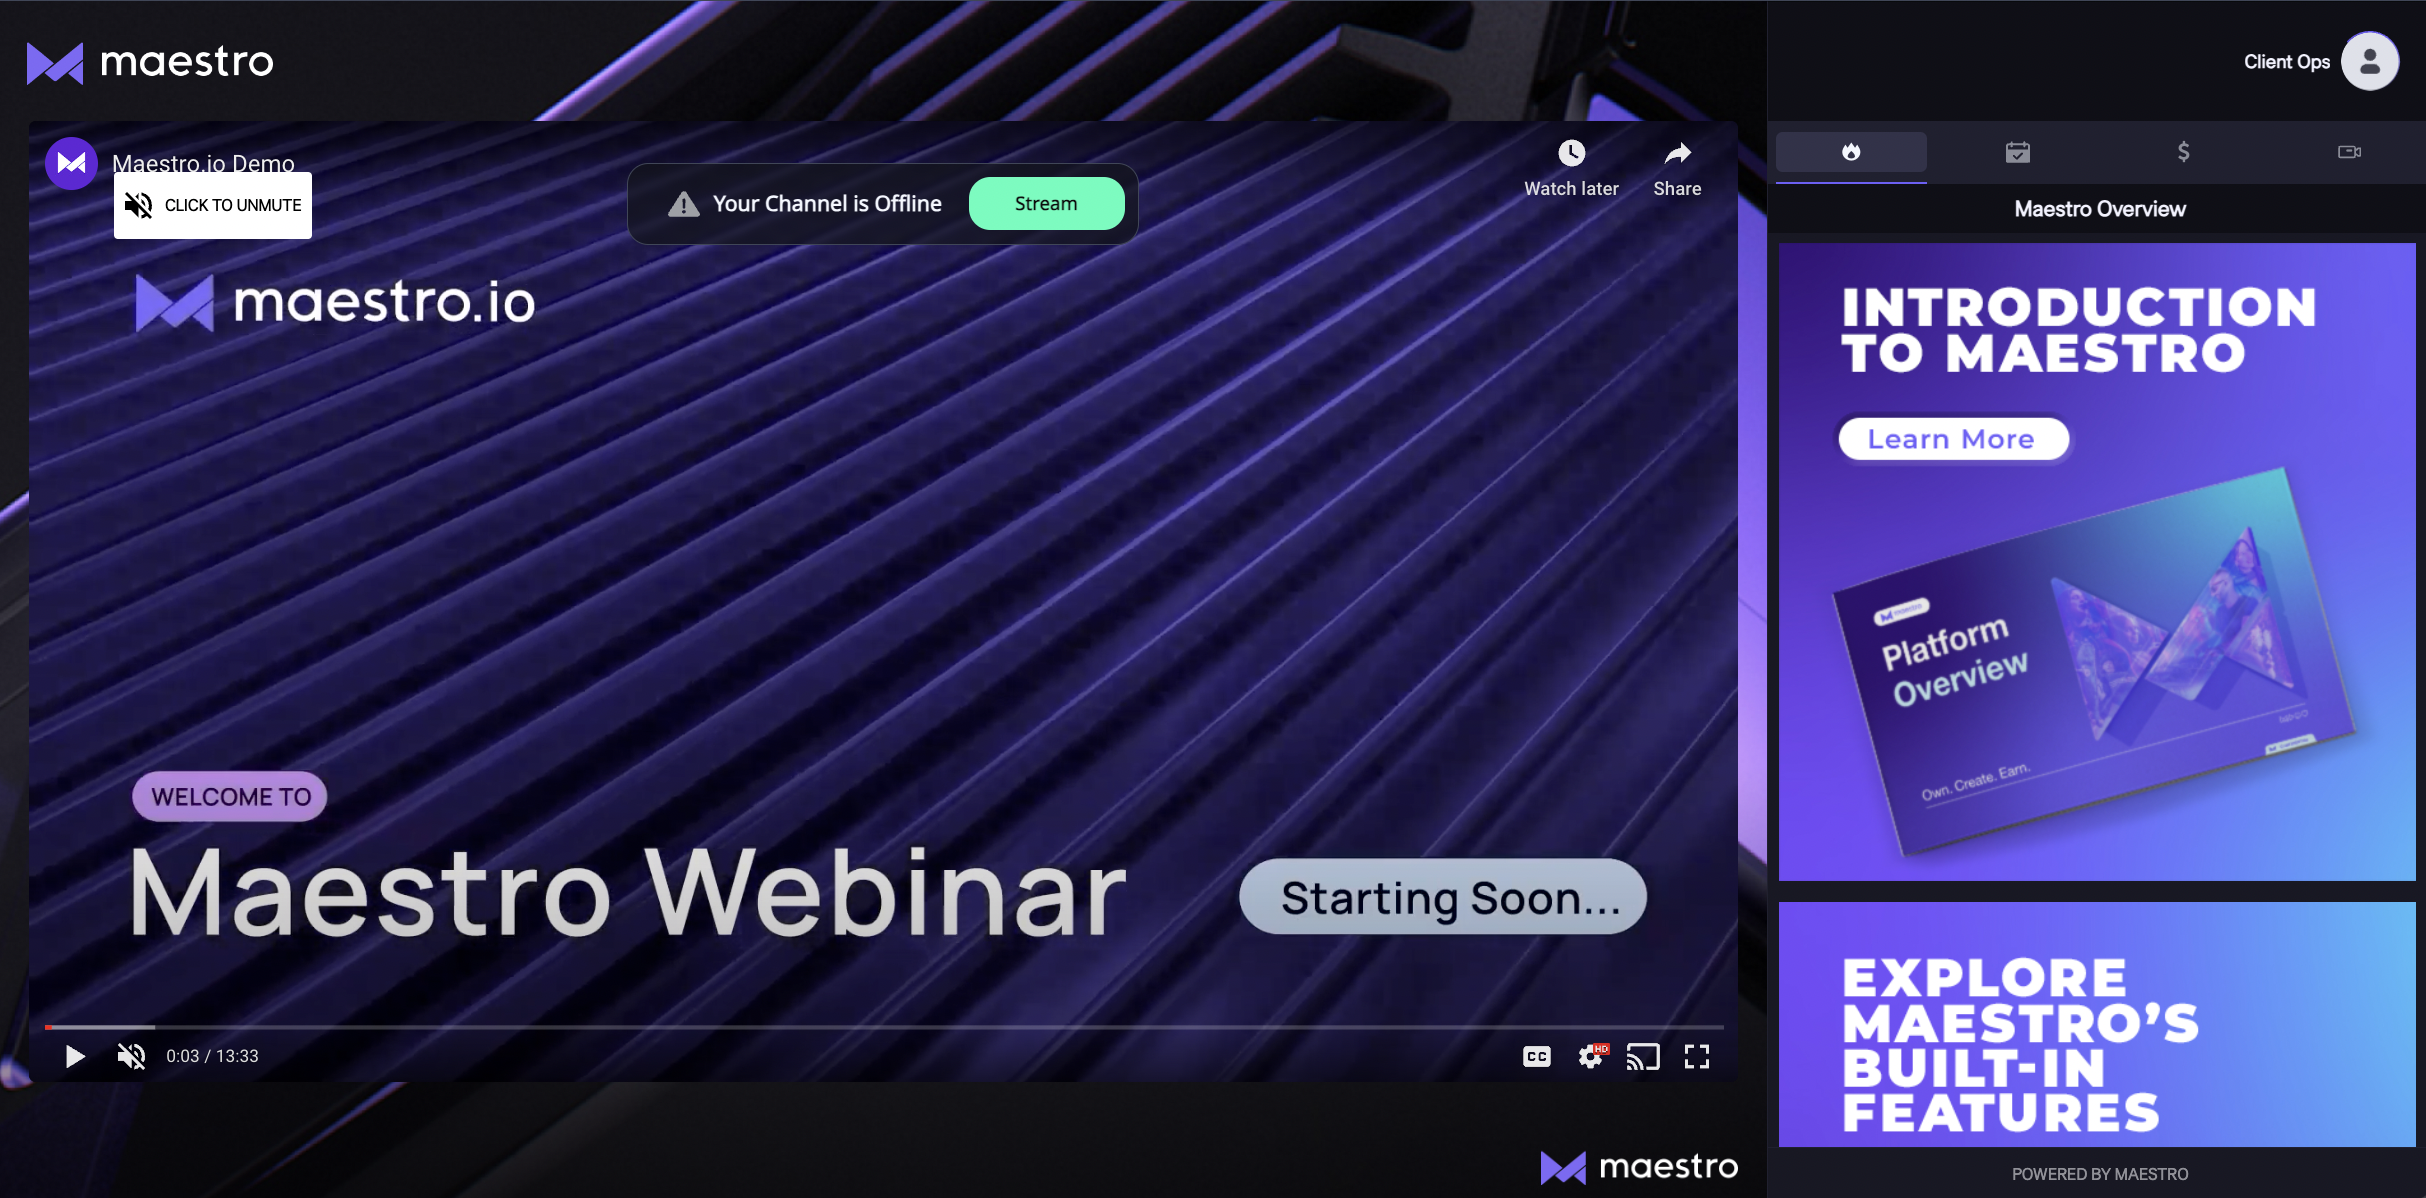
A Maestro Live Channel in TV Mode
Note: The Offline Indicator is letting you know that no stream is currently active, and your site is currently in Offline Mode.
- Image Mode: When a user lands on the channel, they will see an image of your choosing instead of a video player.

A Maestro Live Channel in Image Mode
To get started, add offline content to your Maestro site by clicking the "Content" button in the Admin Bar.
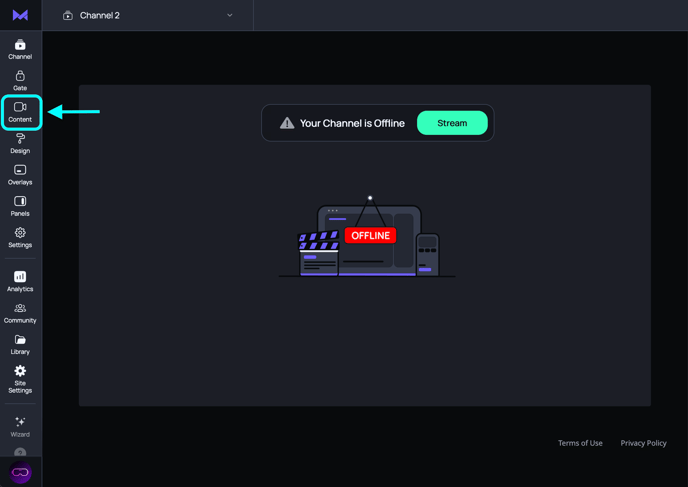
Offline Image Mode:
- Scroll to the bottom of the page, and find the segment titled "Offline". Click the option that reads "Image".

- Choose the image you'd like to use by either uploading an image or using one from your site library.

- Once you've uploaded or chosen an image, scroll to the top of the page and click the
 button to push the changes live. Check your work by clicking the
  button.
Offline Video Mode
- Scroll to the bottom of the page, and find the segment titled "Offline". Click the option that reads "Video".
- Choose either to automatically play a video or a playlist by clicking "Add Video" or "Add Playlist"

- Select your video or playlist by clicking
 from the library; adding a new video by uploading a file or using a URL.
- For more information on uploading VODs, click here
- For more information on creating a playlist, click here
- Once you've uploaded or chosen a video or playlist, scroll to the top of the page and click the
 button to push the changes live. Check your work by clicking the
  button.
Schedule a Video to Play as Live:
- From your live channel, click the "Content" button on the Admin bar.

- Click the "Schedule Video" button, which will open your video library.

- Choose a video you'd like to schedule from the list, or by uploading a new file, or adding a URL. Once the video you'd like to schedule is in your library, click the
 button to continue to the next step.
 - After you've selected your video, schedule the time you'd like the video to play by selecting the date, time, and time zone required.
Optionally choose if you'd like the video to repeat. By default, it will not repeat. You can set the video to repeat Daily or Weekly.
If you choose Daily, the video will repeat every day at the same time until it is removed. If you choose Weekly, the video will repeat on the chosen day and time of the week, each week, until it is removed.
Once you have set your Live Channel up with initial settings and content, you're all set!
For information on Streaming Live using RTMP, please see our dedicated guide. For information on adding a Paywall Gate to your Live Channel, please see our dedicated guide.
Join our Discord server for more helpful tips and tricks!